Monday, October 8, 2018

Generate a CSR from Windows Server using the certificate MMC


Certificate MMC access

  • Run the MMC either from the start menu or via the run tool accessible fom the WIN+R shortcut.
  • Click on File - Add/Remove Snap-in.


  • Select Certificates in the left panel and click on Add. 

  • In the new window, click on Computer Account.


  • Select Local Computer then click on Finish. 


  • Complete the adding dialog by clicking OK. 


Request generation

  • In the certificate management console, select in the folder tree Certificates - Personal- Certificates. In the certificate list, in the central panel, right click then select All Tasks - Advanced Operations - Create Custom Request.


  • In the new windows, select Proceed without enrollment policy under Custom Request then click Next.


  • Select (No Template) CNG Key as the template and PKCS #10 as the request format. Then, click Next. 


  • Develop the details by clicking the arrow and click on Properties. 


  • In the properties window, in the tab General, enter a Friendly Name that will be displayed in your certificate management interfaces and optionally, a description.


  • In the Subject tab, in the Subject Name box, add the attributes to be added to the certificate, then click on Add to add them to the request. 


  • A standard certificate will generally contain the CN, O, L, ST, and C fields. 


  • In the Private Key tab, you can choose the CSP, the key formats, and its options. 


  • For a RSA key, we recommend a key size of 2048bits. We also reocomment the SHA256 hash algorithm for the CSR signature. 


  • You can also generate ECC keys using this tool. Attention, you will need to sign your CSR using SHA256. 


  • Once the properties dialog has been completed, you can resume the CSR generation and finish the request after having chosen a file name and directory. It is important to choose the Base 64 format. 


-----------------------------------------------------------------------------------------------------------------------------
referenced url
https://onkelx.nl/2018/05/14/create-a-san-csr-using-mmc/

Create a SAN CSR using MMC

If you want to create a Certificate Signing Request (CSR) for a Subject Alternative Names (SAN) certificate, you can use the Microsoft Management Console (MMC) to create such a request.

On a Windows computer open MMC.exe and add the Certificates snap-in.

Make sure you choose ‘Computer account’ to manage certificates for on the local computer.

Rightclick on the Certificates folder and choose ‘All Tasks’ –> ‘Advanced Operations’ –> ‘ Create Custom Request’.

Click Next on the informational screen.

Choose ‘Proceed without enrollment policy’ and click Next.

Change the Template to ‘(No template) Legacy key’ for compatibility and click Next.

Click on the Properties button to configure the CSR.

Enter a Friendly name and a description. This is only used to identify the certificate easily. Click Apply when ready and go to the Subject tab.

At the Subject name section, leave the type to Full DN. Use the Value field to enter administrative information.

Example:

CN=mail.onkelx.nl

OU=OnkelX

O=IT

L= Vleuten

S=Utrecht

C=NL

Put each of these values in the Value field and click Add to add the value.

In the Alternative name section, add all DNS names that you want as alternative names. Also include the common name that you already added in the Subject name section. This is required because if an SSL certificate has a Subject Alternative Name (SAN), then SSL clients are supposed to ignore the Common Name value and seek a match in the SAN list. Click Apply when ready and go to the Extensions tab.

Open the Extended Key Usage (application policies) section, and add ‘Server Authentication’ to the Selected options.

Click Apply and go to the Private Key tab.

Open the Key options section and set the Key size to at least 2048. If you need to export the certificate including the private key, enable the ‘Make private key exportable’ option. When ready, click Apply and OK.

All CSR information has been added now. Click Next to proceed.

Specify a file name and location for the CSR and leave the File format to Base 64. Click Finish to save the file.

When you look at the Certificate Enrollment Requests in the MMC, you will see the CSR. This will automatically be removed once you import the certificate.

To verify your CSR, you can use a CSR checker on the Internet.

https://www.digicert.com/ssltools/view-csr/

Open your CSR file, copy the content to the webpage and click the ‘Check CSR’ button.

Check if all values are correct.

Now you can use the CSR to request an SSL SAN certificate. You can use your own (Microsoft) CA, or a commercial CA.

Wednesday, April 25, 2018

splash page


<applicationInitialization
        remapManagedRequestsTo="initializationPage.html"  - This line is required if you want to show a “splash page” while initializing
       skipManagedModules="true">
      <add initializationPage="/" /> - This line tells IIS to send a “fake” request to application which STARTS the application initialization
</applicationInitialization>


Sunday, September 17, 2017

DI in asp.net core

original link http://asp.net-hacker.rocks/2016/02/17/dependency-injection-in-aspnetcore.html

Dependency Injection in ASP. NET Core - a quick overview

With ASP.NET Core Dependency Injection is now a first class citizen in ASP.NET. All parts of the ASP.NET Stack are using the same DI container. In this post I'm going to show you, how to configure the DI container and how to use it.
Let's first create a new and pretty simple service to use in the examples. As always in my examples it is a CountryService which provides a list of countries. We also need an interface for this service, let's create it too:
public class CountryService : ICountryService 
{ 
    public IEnumerable<Country> All() 
    { 
        return new List<Country> 
        { 
            new Country {Code = "DE", Name = "Germany" }, 
            new Country {Code = "FR", Name = "France" }, 
            new Country {Code = "CH", Name = "Switzerland" }, 
            new Country {Code = "IT", Name = "Italy" }, 
            new Country {Code = "DK", Name = "Danmark" } , 
            new Country {Code = "US", Name = "United States" }
        }; 
    } 
} 

public interface ICountryService 
{ 
    IEnumerable<Country> All(); 
} 

public class Country 
{ 
    public string Code { get; internal set; } 
    public string Name { get; internal set; } 
}

Register the services

We now need to add this ContryService to the DI container. This needs to be done in the Startup.cs in the method ConfigureServices:
services.AddTransient<ICountryService, CountryService>();
This mapping between the interface and the concrete type defines, that everytime you request a type of IContryService, you'll get a new instance of the CountryService. This is what transient means in this case. You are also able to add singleton mappings (using AddSingleton) and scoped mappings (using AddScoped). Scoped in this case means scoped to a HTTP request, which also means it is a singleton while the current request is running. You can also add an existing instance to the DI container using the method AddInstance.
These are the almost complete ways to register to the IServiceCollection:
services.AddTransient<ICountryService, CountryService>();            
services.AddTransient(typeof (ICountryService), typeof (CountryService));
services.Add(new ServiceDescriptor(typeof(ICountryService), typeof(CountryService), ServiceLifetime.Transient));
services.Add(new ServiceDescriptor(typeof(ICountryService), p => new CountryService(), ServiceLifetime.Transient));

services.AddSingleton<ICountryService, CountryService>();
services.AddSingleton(typeof(ICountryService), typeof(CountryService));
services.Add(new ServiceDescriptor(typeof(ICountryService), typeof(CountryService), ServiceLifetime.Singleton));
services.Add(new ServiceDescriptor(typeof(ICountryService), p => new CountryService(), ServiceLifetime.Singleton));

services.AddScoped<ICountryService, CountryService>();
services.AddScoped(typeof(ICountryService), typeof(CountryService));
services.Add(new ServiceDescriptor(typeof(ICountryService), typeof(CountryService), ServiceLifetime.Scoped));
services.Add(new ServiceDescriptor(typeof(ICountryService), p => new CountryService(), ServiceLifetime.Scoped));

services.AddInstance<ICountryService>(new CountryService());
services.AddInstance(typeof(ICountryService), new CountryService());
services.Add(new ServiceDescriptor(typeof(ICountryService), new CountryService()));
If you have a lot of services to register, you should create a extension method to the IServiceCollection to keep the Startup.cs clean. The same way is used by default for MVC and many other tools you want to use in your project:
services.AddMvc();
This extension method add all the services to the IServiceCollection which are needed by the MVC MiddleWare.
public static class ServiceCollectionExtensions
{
    public static IServiceCollection RegisterServices(
        this IServiceCollection services)
    {
        services.AddTransient<ICountryService, CountryService>();
        // and a lot more Services

        return services;
    }
}
The method RegisterServices looks now much more cleaner:
public void ConfigureServices(IServiceCollection services)
{
    // Add framework services.
    services.AddMvc();

    services.RegisterServices();
}

Usage

Now we can request an instance of an CountryService almost everywhere in our ASP.NET Core application. For example in a MVC controller:
public class HomeController : Controller 
{ 
    private readonly ICountryService _countryService; 

    public HomeController(ICountryService countryService) 
    { 
        _countryService = countryService; 
    } 
    // … 
}
New in ASP.NET Core MVC is, that we can also inject this service into a MVC view. The following line defines the injection in a Razor view:
@inject DiViews.Services.ICountryService CountryService;
The first part after the @inject directive defines the interface. The second part is the name of the variable which holds our instance.
To inject a service globally into all Views, add this line to the _ViewImports.cshtml. In a complete new ASP.NET Core project, there is already a global injection defined for ApplicationInsights:
@inject Microsoft.ApplicationInsights.Extensibility.TelemetryConfiguration TelemetryConfiguration
We are now able to use the instance in our view:
@if (countryService.All().Any()) 
{ 
    <ul> 
        @foreach (var country in CountryService.All().OrderBy(x => x.Name)) 
        { 
            <p>@country.Name (@country.Code)</p> 
        } 
    </ul> 
}
We can also use this service to fill select fields with the list of countries:
@Html.DropDownList("Coutries", CountryService.All() 
    .OrderBy(x => x.Name) 
    .Select(x => new SelectListItem 
    { 
        Text = x.Name, 
        Value = x.Code 
    }))
DI is also working in MiddleWares, TagHelpers and ViewComponents. You could use DI in TagHelpers to create reusable CountryList or whatever you want:
public class CountryListTagHelper : TagHelper
{
    private readonly ICountryService _countryService;

    public CountryListTagHelper(ICountryService countryService)
    {
        _countryService = countryService;
    }

    public string SelectedValue { get; set; }


    public override void Process(TagHelperContext context, TagHelperOutput output)
    {
        output.TagName = "select";
        output.Content.Clear();
        foreach (var country in _countryService.All())
        {
            var seleted = "";
            if (SelectedValue != null && SelectedValue.Equals(country.Code, StringComparison.CurrentCultureIgnoreCase))
            {
                seleted = " selected=\"selected\"";
            }
            var listItem = $"<option value=\"{country.Code}\"{seleted}>{country.Name}</option>";
            output.Content.AppendHtml(listItem);
        }
    }
}
This TagHelper could be used like this:
<country-list selected-value="@Model.Country"></country-list>

Conclusion

You are able to use DI almost everywhere in your application (Except in HtmlHelpers, because this are extension methods.) and you can use every servce which is registered in the IServiceCollection, even the services which are registerd by ASP.NET Core. This also means all the contexts, all the environment and even the logger. This helps a lot to keep a ASP.NET Core application clean, leightweight, maintainable and testable.


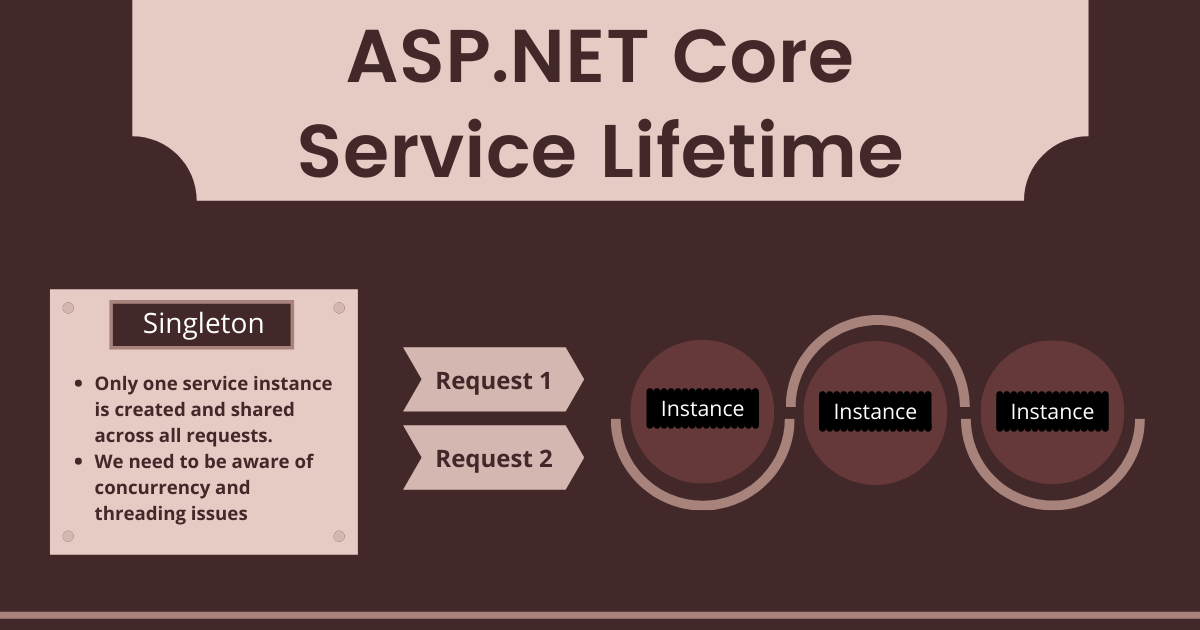
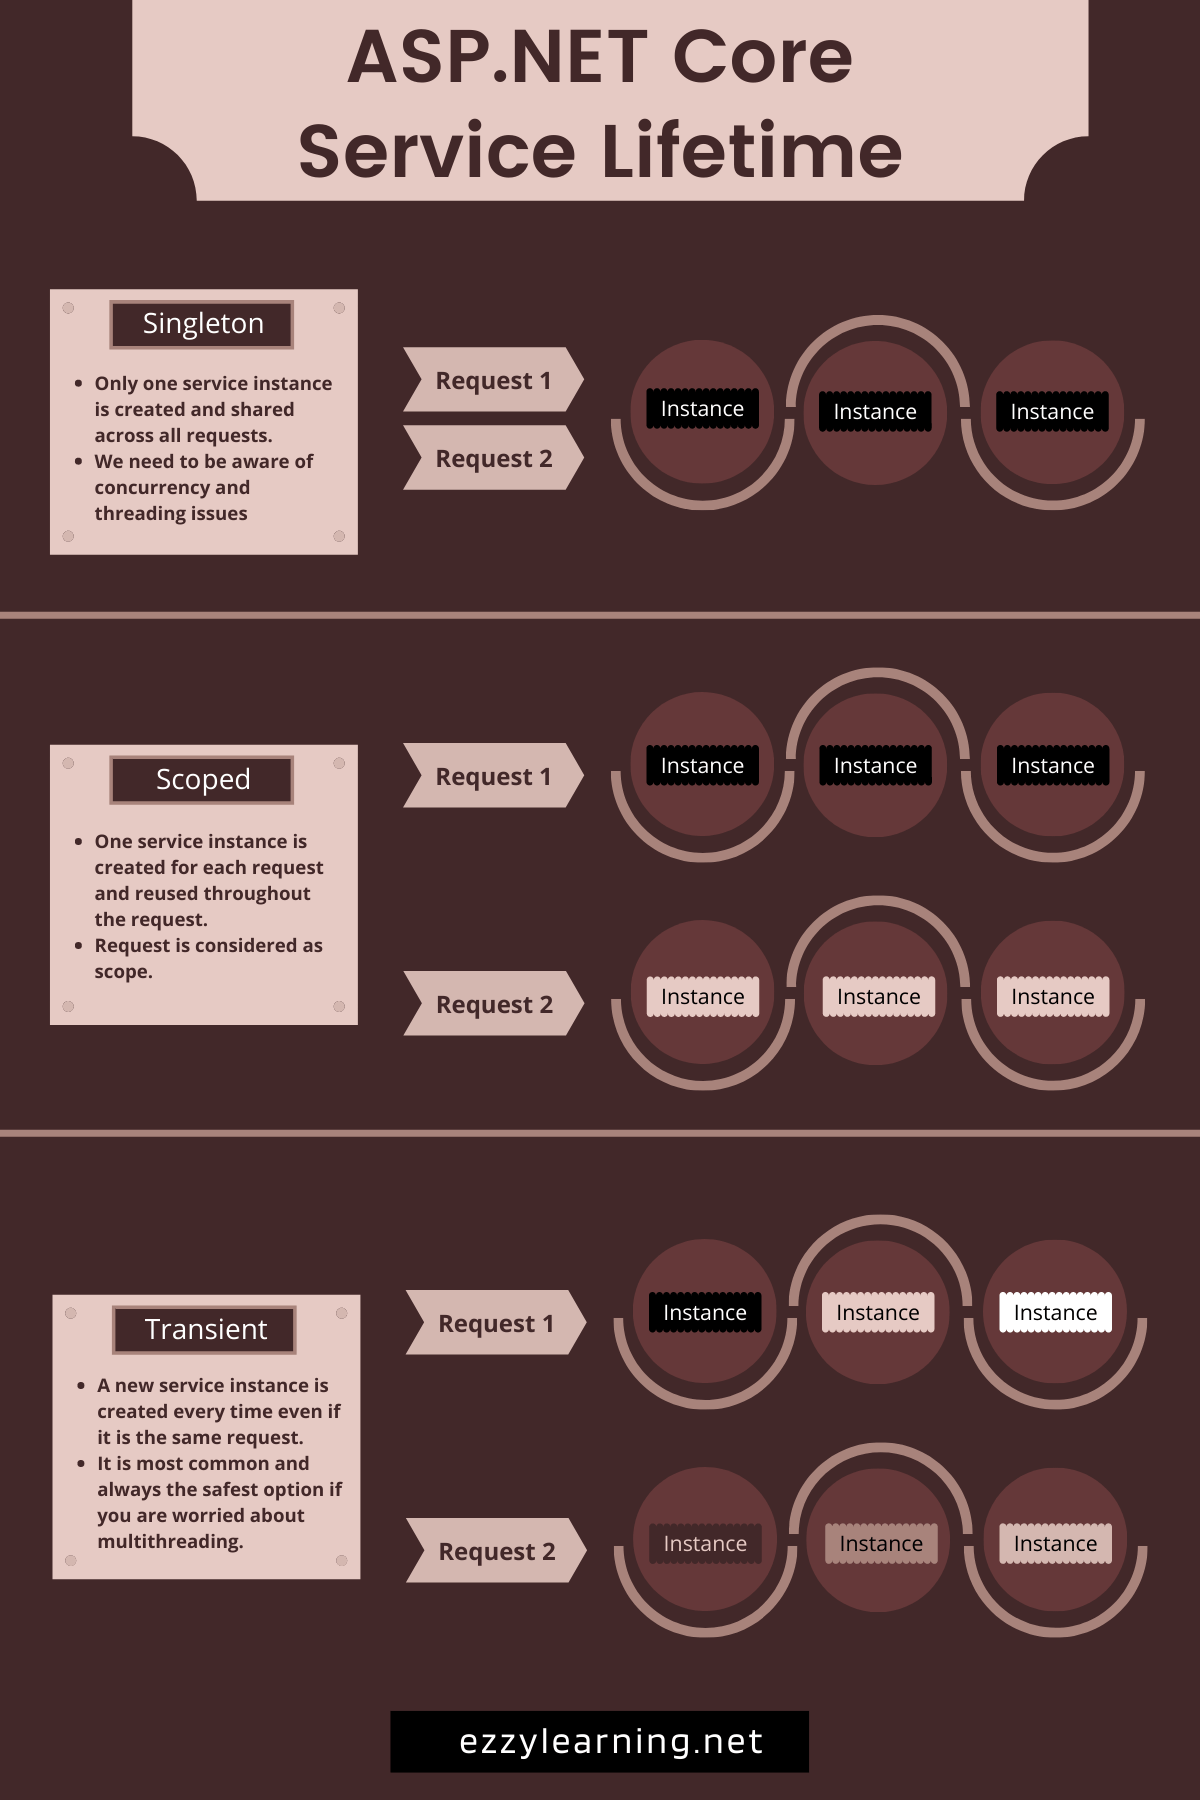
ASP.NET Core Service Lifetimes (Infographic)

ASP.NET Core Service Lifetimes (Infographic)

ASP.NET Core supports the dependency injection (DI) software design pattern that allows us to register services and control how these services will be instantiated and injected in different components. Some services will be instantiated for a short time and will be available only in a particular component and request. Some will be instantiated just once and will be available throughout the application. Here are the service lifetimes available in ASP.NET Core.

Singleton

A single instance of the service class is created, stored in memory and reused throughout the application. We can use Singleton for services that are expensive to instantiate. We can register Singleton service using the AddSingleton method as follows:

1
services.AddSingleton<IProductService, ProductService>();

Scoped

The service instance will be created once per request. All middlewares, MVC controllers, etc. that participate in handling of a single request will get the same instance. A good candidate for a scoped service is an Entity Framework context. We can register Scoped service using the AddScoped method as follows:

1
services.AddScoped<IProductService, ProductService>();

Transient

Transient lifetime services are created each time they’re requested. This lifetime works best for lightweight, stateless services. We can register Transient service using the AddTransient method as follows:

1
services.AddTransient<IProductService, ProductService>();

If you want to visualize the above concepts then here is an infographic for your quick reference.

ASP.NET Core Service Lifetimes Infographic